--- 추가 ---
이전에 ORB SLAM을 보면서
단안 카메라 만으로도 시각 궤적 트래킹을 그래도 간단히 할수 있을줄 알았는데,
그렇지 않더라
단안 영상에서는 매칭쌍으로 회전 행렬과 평행이동 백터를 구할수는 있지만
스케일 정보가 없어 정확한 시각 궤적을 구할수가 없었다.
ORB SLAM의 경우에는 키프레임들을 잘 최적화시켜서 가능했었는데
g2o를 커녕
파이썬 기본 프로젝트 개념 조차 제대로 정리못하니 아직도 손댈수가 없겠다.
-------------------
기존에 단안 카메라로 시각 궤적을 구하는 코드를 공개해놓은게 있었다
이 자료는 KITTI dataset에 맞게 되어있어서
zumi에서 사용할수 있도록 조금 수정해야 될거같다.
https://github.com/uoip/monoVO-python
봐야 될 코드는
test.py와 visual_odometry.py 2개로
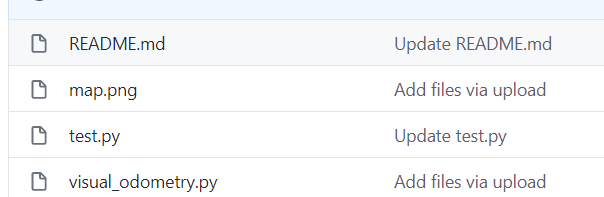
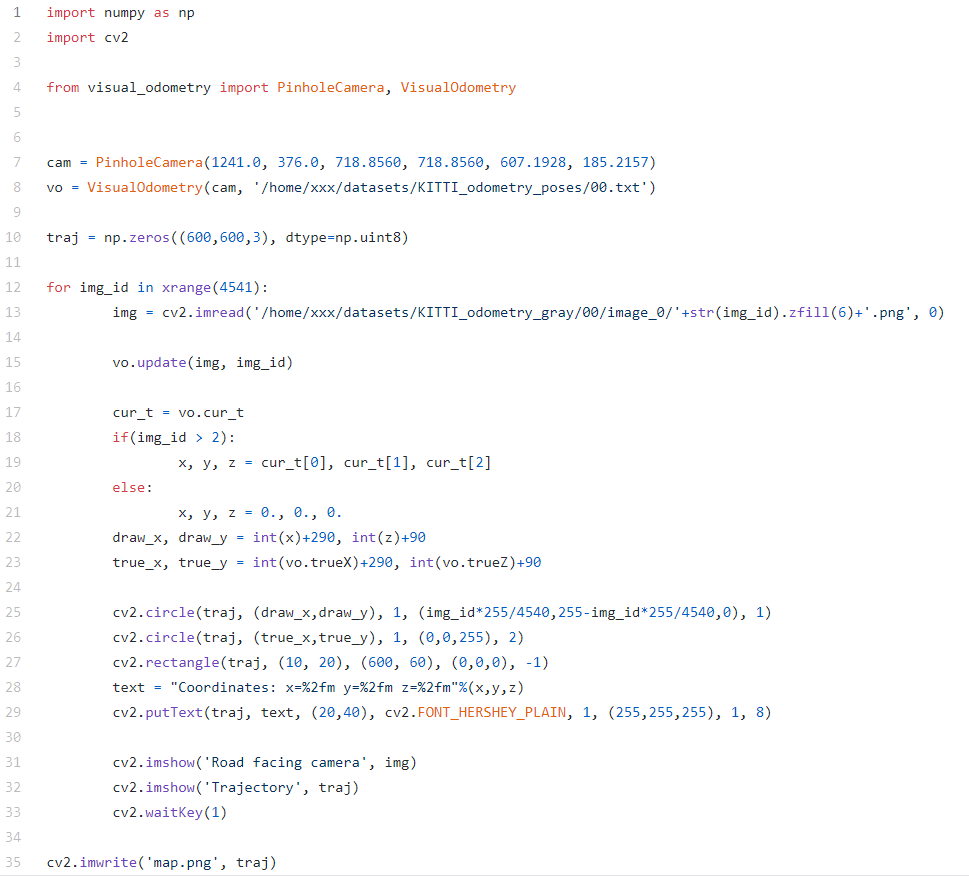
test.py에는 KITTI dataset 테스트 코드가
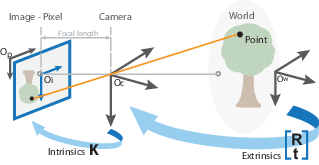
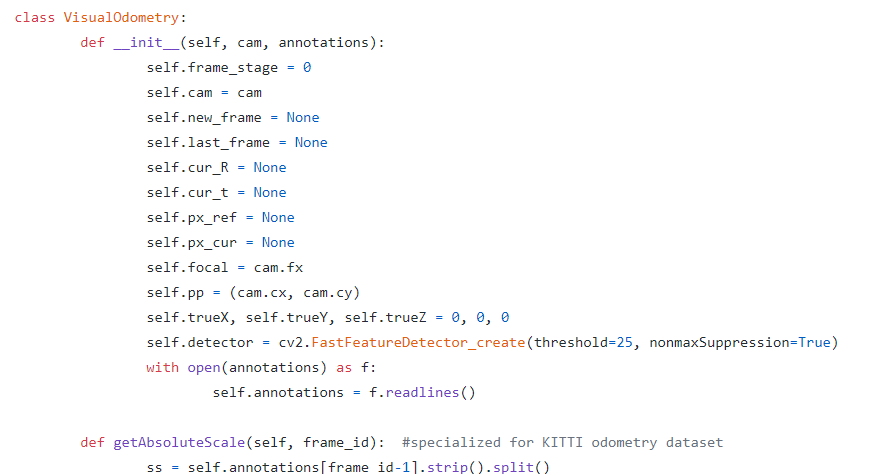
visual_odometry.py에는 핀홀 카메라와 시각 궤적에 대한 코드가 정의되어 있다.
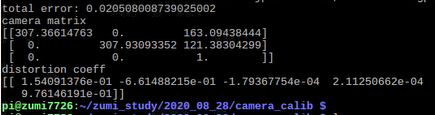
조금전에 카메라 캘리브레이션으로 카메라 매트릭스를 구해서
핀홀 카메라 모델 초기화에 필요한 값들은 가지고 있다.
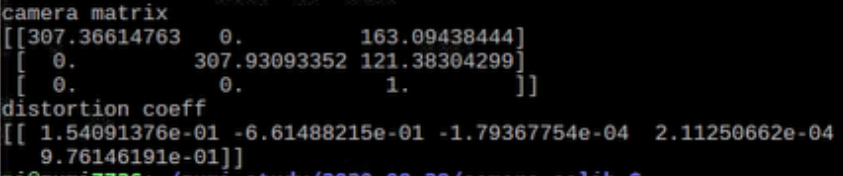
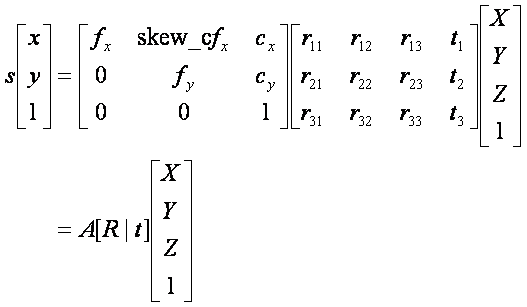
위 결과를 보면
핀홀 카메라 초기화에 사용할 값들은
self.fx = 307.36614763
self.fy = 307.93093352
self.cx = 163.09438444
self.cy = 121.38304299
self.d = distortion coeff
핀홀 카메라는 괜찬아 보이지만
시각 궤적이 문제다.
현재 R, t와 카메라 주점을 떠나서
어노테이션 파일이 없는게 큰데
일단 test.py를 보면
핀홀 카메라를 초기화하고
시각 궤적 초기화에는
핀홀 카메라 모델, 어노테이션 파일이 파라미터로 주어야한다.
나머지는
1. 이미지 읽기
2. vo.update()
3. 궤적 그리기
로 정리할수 있을것같다.
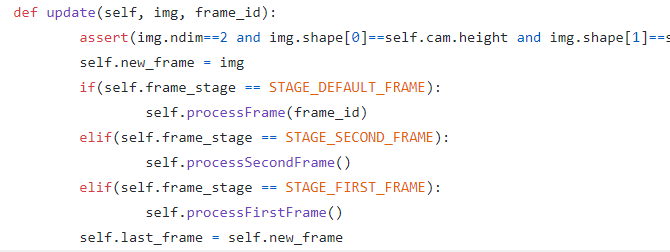
일단 vo.update부터 돌아가서보면
이미지가 첫번째, 두번째, 이외의 경우를 나눠서 처리하고 있다.
첫 이미지 처리 과정을 보면
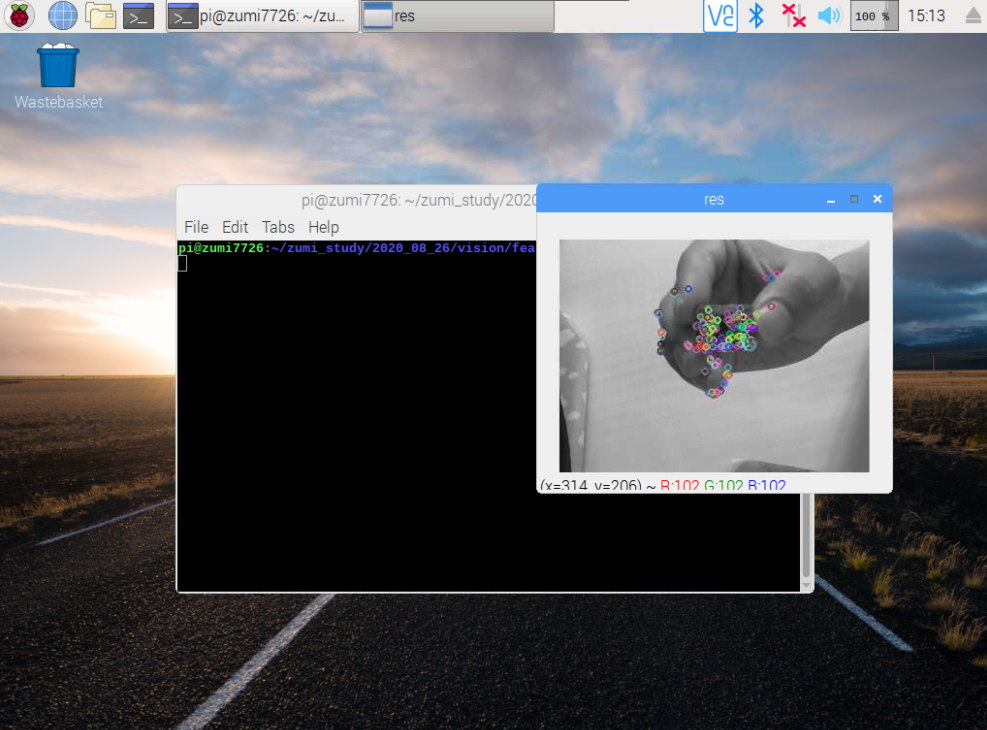
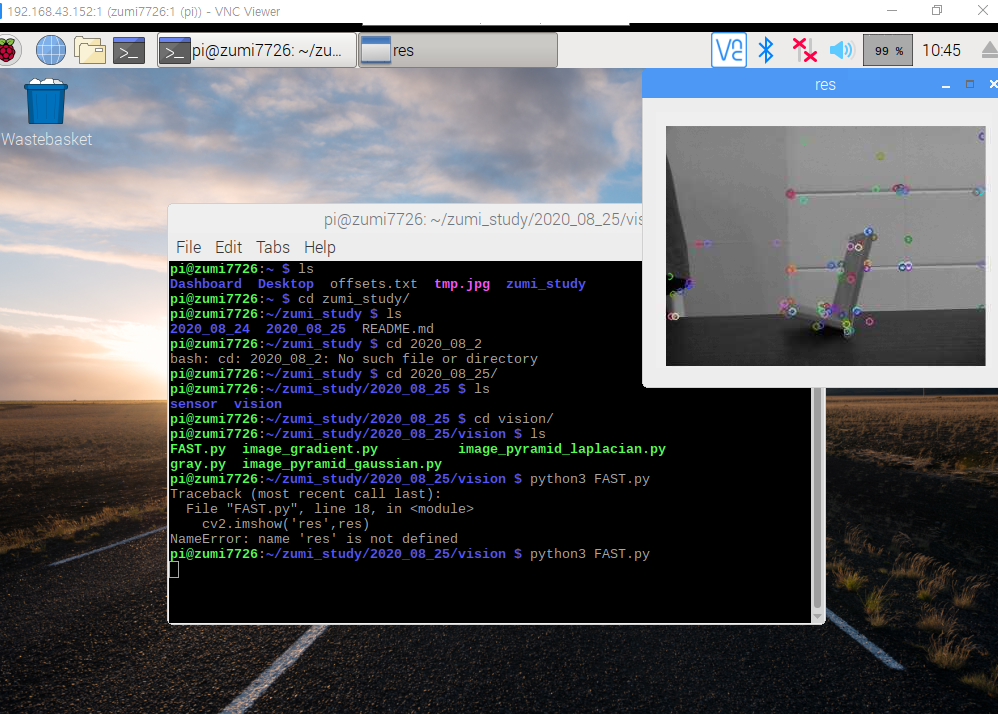
1. 특징 검출기로 기준 키포인트부터 구한다.
* detector.detect()에서는 검출한 키포인트들을 반환
2. 키포인트의 좌표들을 넘파이 배열에담는다.
* https://docs.opencv.org/3.4/d2/d29/classcv_1_1KeyPoint.html#ae6b87d798d3e181a472b08fa33883abe
* x.pt는 point2f 특징 좌표
=> 첫번째 이미지의 특징 좌표들을 기준 좌표로 설정하는 과정

두번째 이미지 처리 과정에서는
1. 피처 트래킹 -> featureTracking
2. 에센셜 메트릭스 검출 -> findEssentialMat
3. 자세 복원 -> recoverPose
4. 현재 특징 좌표를 기준 좌표로 -> px_ref = px_cur
우선 피처 트래킹 부터 살펴보면
* 두번째 프레임을 받았다고 가정
last_frame 이전 영상(첫번째 프레임)
new_frame 새 영상(두번째 프레임)
prx_ref 이전 영상(첫번째 프레임)의 특징 좌표
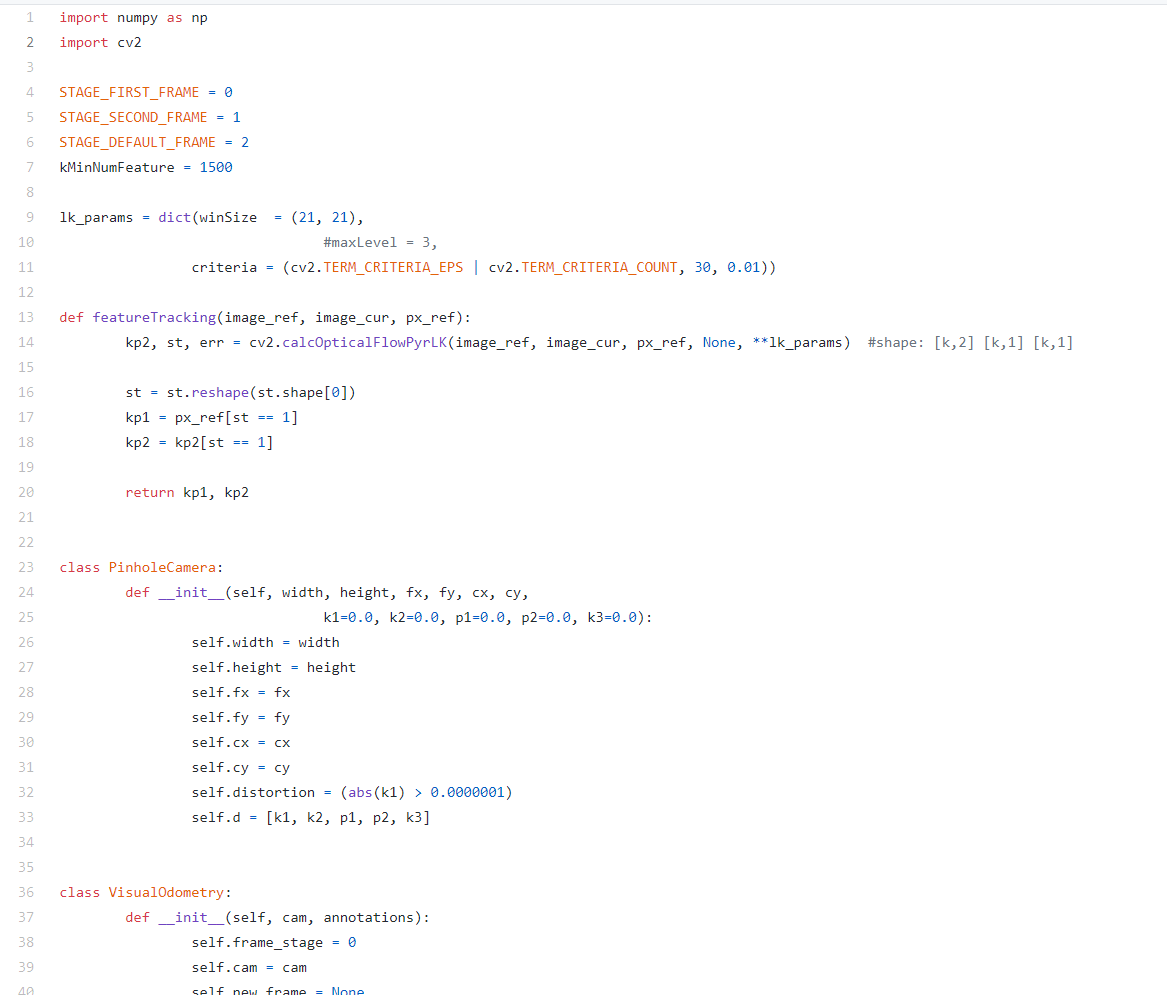
이제 피처 트래킹 함수 로직을 살펴보자

피처 프래킹을 보면
가장 먼저 옵티컬 플로우를 계산한다.
옵티컬 플로우 : 두 연속 이미지 사이에서 풀체의 움직이는 패턴 검출
ref : https://throwexception.tistory.com/683
* opencv-python 에서도 옵티컬 플로우 설명이 있다.
* 옵티컬 플로우 번역 설명
ref : https://m.blog.naver.com/samsjang/220662493920
cv2.calcOpticalFlowPyrLK 함수의 리턴 값은
kp2 : 현재 영상에서의 특징 키포인트
st : 검출 성공여부 ( 0이면 실패, 1이면 성공)
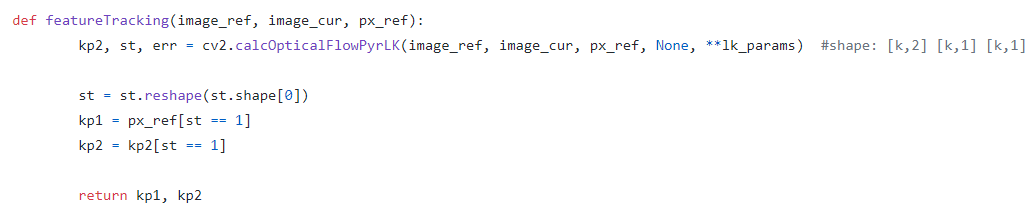
이전과 현재 영상의 매치되는 특징들을 찾아낸뒤
에센셜 메트릭스를 구하고 있습니다.
에센셜 메트릭스 : 두 영상에서 찾은 특징쌍, 매칭쌍의 변환 관계(평행이동, 회전).(카메라 내부 파라미터 제거된 좌표계)
* fundamental matrix : 에센셜 메트릭스와 동일하나 카메라 내부 파라미터 행렬을 포함한 좌표계서 변환 관계
ref : https://darkpgmr.tistory.com/83
리커버포즈 : 말그대로 자세 변화를 구해주는 함수
- 입력 : 에센셜 메트릭스, 이미지1 특징 좌표, 이미지2 특징 좌표, 카메라 행렬, 회전 변환 출력 행렬, 평행이동변환 출력행렬
=> 두 이미지 사이의 자세 변화를 구함

다시 세컨드 프레임 프로세스로 돌아오면
현재 R 변화와 T 변화를 구하고
이후에는 기본 프레임 단계로 지정된다.
나머지 내용 잠깐 리커버 포즈부터 해보고 진행한다.
'로봇 > 로봇' 카테고리의 다른 글
| zumi - 29. 카메라 캘리브레이션과 왜곡 보정 (0) | 2020.08.28 |
|---|---|
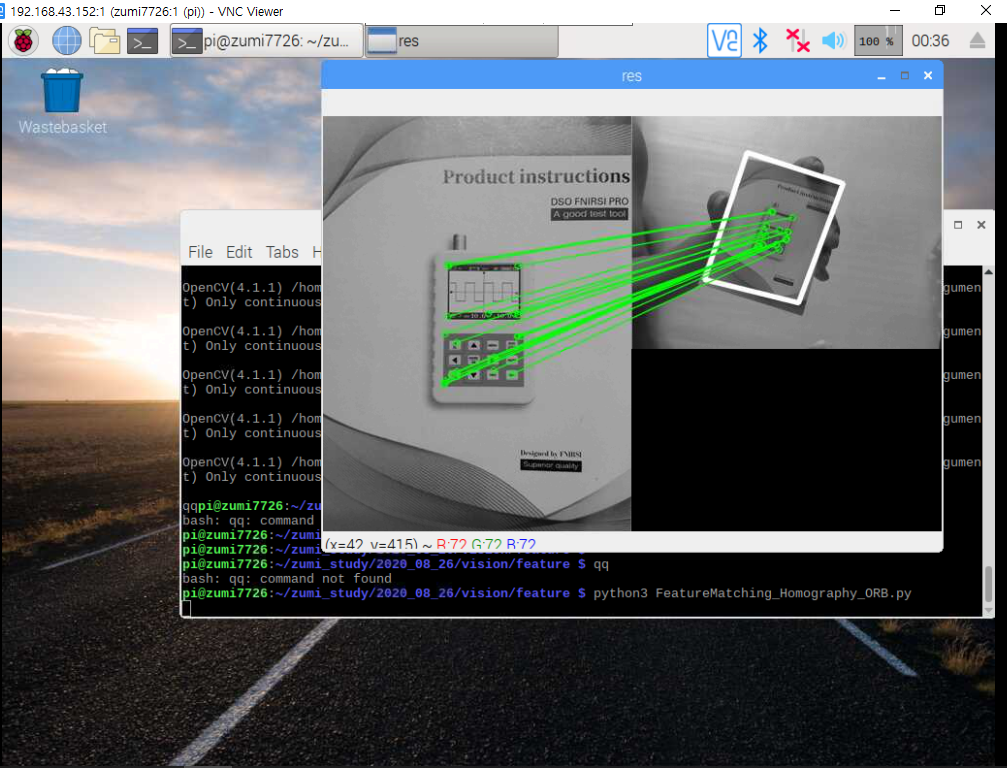
| zumi - 28. 피처매칭과 호모그래피 (0) | 2020.08.28 |
| zumi - 27. ORB 특징, 브루트포스 매처를 이용한 피처 매칭 (0) | 2020.08.28 |
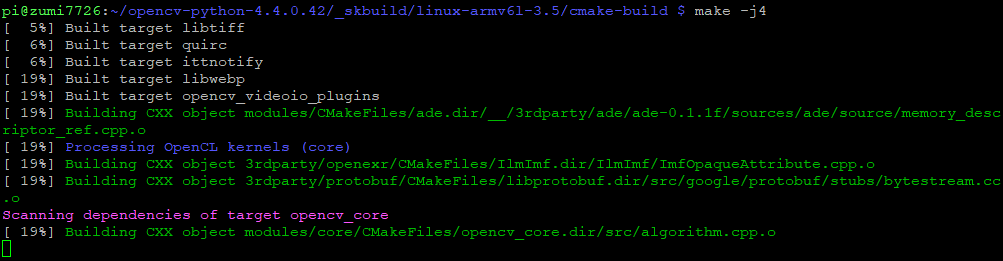
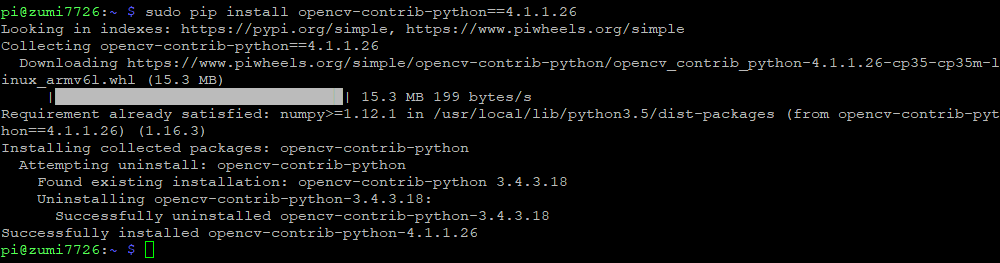
| zumi - 26. pi에서 빌드없이 opencv 설치하기 (0) | 2020.08.28 |
| zumi - 25. mpu6050 가속도계로 속도, 위치 구하기 fail (0) | 2020.08.28 |