728x90
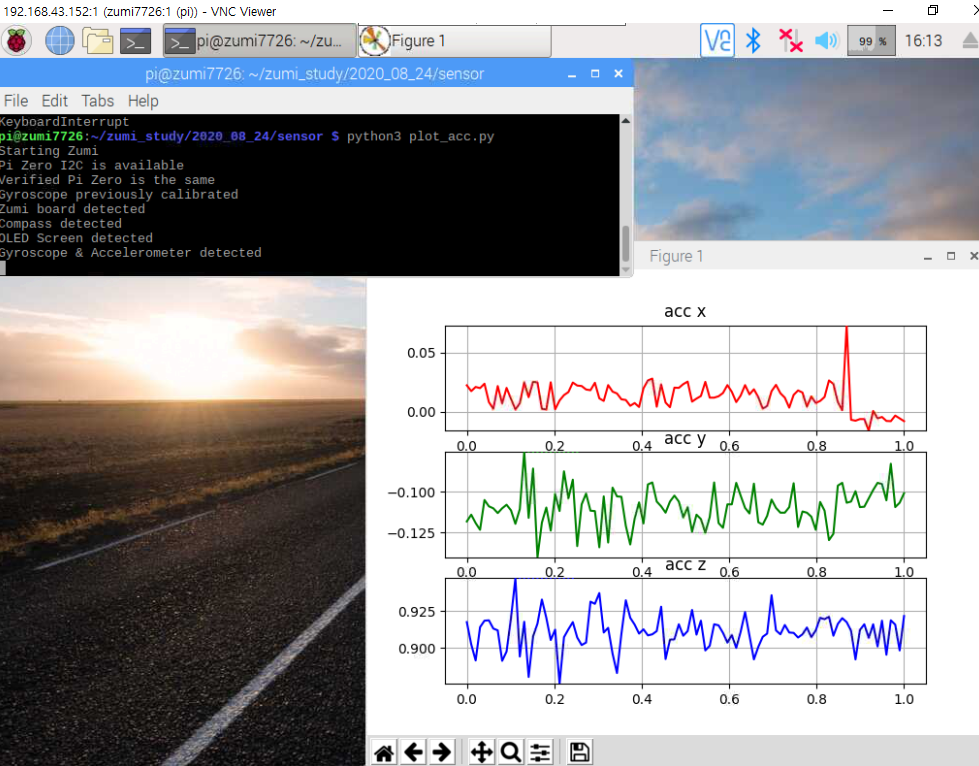
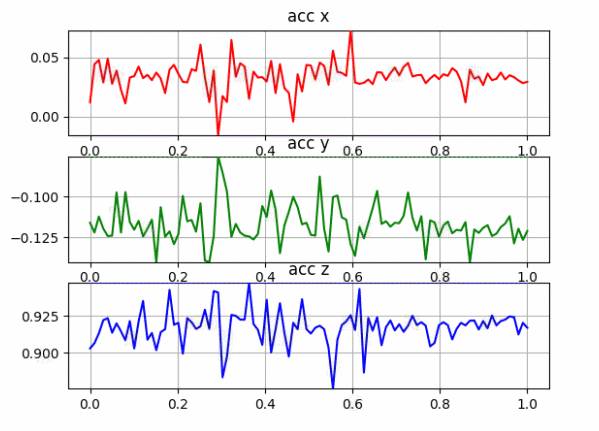
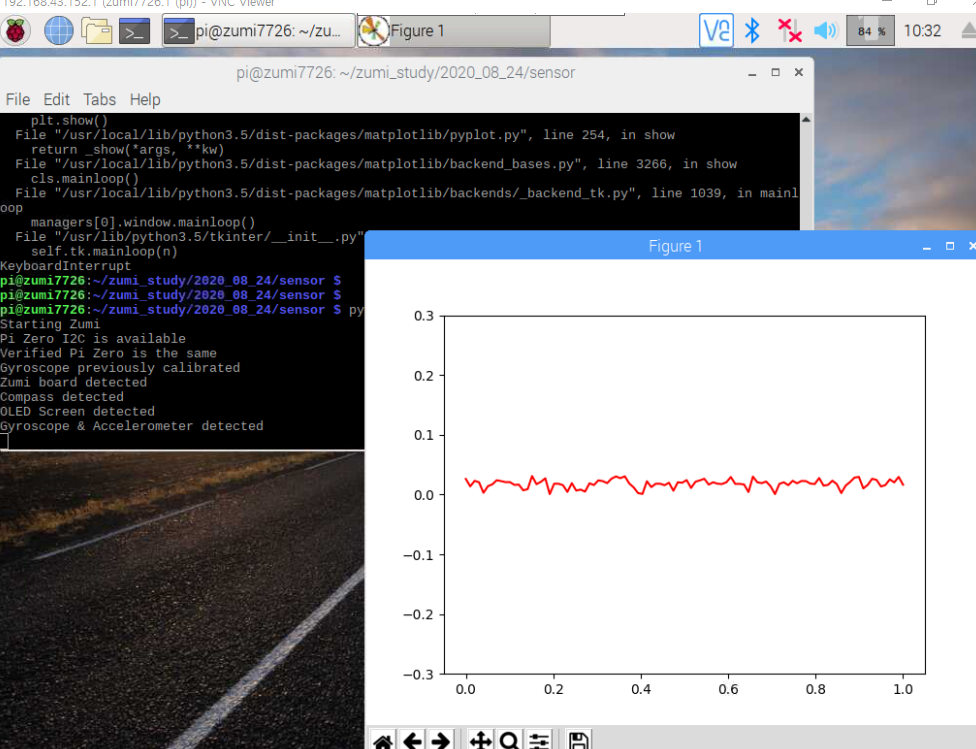
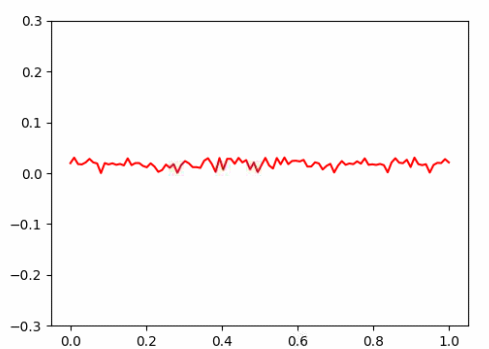
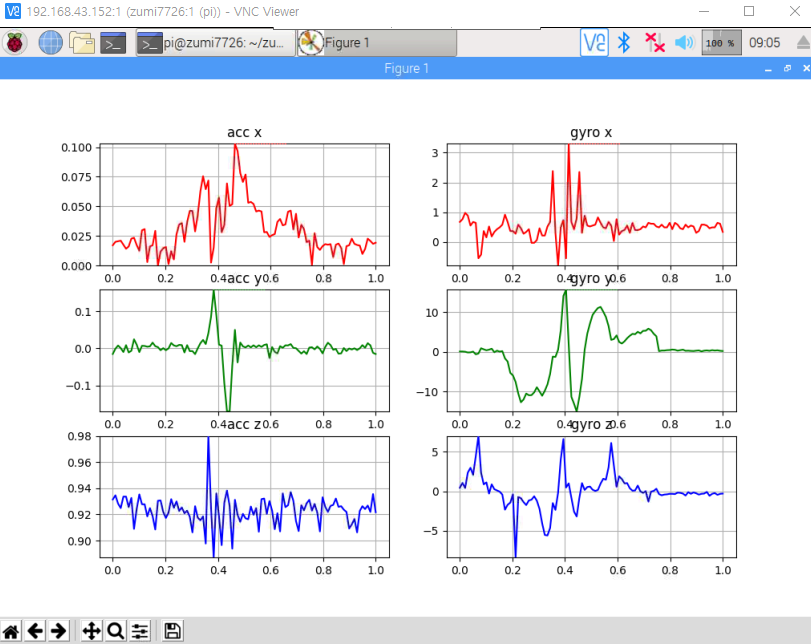
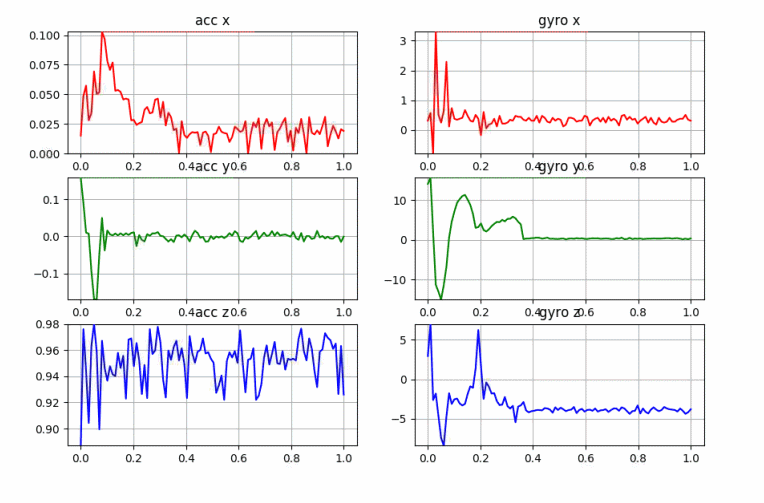
이제 관성 센서로 받는
가속도, 자이로계 값들을 실시간 플로팅 예제
from zumi.zumi import Zumi
import numpy as np
import matplotlib.pyplot as plt
from matplotlib.animation import FuncAnimation


"""
common functions
"""
def get_mpu_val(zumi):
    mpus = zumi.get_all_mpu_data()
    acc_x = mpus[0]
    acc_y = mpus[1]
    acc_z = mpus[2]
    gyro_x = mpus[3]
    gyro_y = mpus[4]
    gyro_z = mpus[5]
    mpu_val = np.array([[acc_x, acc_y, acc_z, gyro_x, gyro_y, gyro_z]])
    return mpu_val


def new_data_insert(mpu, mpu_val):
    #push
    mpu = np.append(mpu, mpu_val, axis=0)
    #pop
    mpu = np.delete(mpu, 0, 0)


    return mpu


"""
initialize mpu data
"""
def init():
    idx = 0
    mpu = np.zeros((100, 6))
    t = np.linspace(0, 1, 100)

    while idx < 100:
        mpu_val = get_mpu_val(zumi)
        mpu = new_data_insert(mpu, mpu_val)
        idx = idx + 1
    return t, mpu


"""
functions for animation
"""
def ln_set_data(mpu):
    ln0.set_data(t, mpu[:,0])
    ln1.set_data(t, mpu[:,1])
    ln2.set_data(t, mpu[:,2])
    ln3.set_data(t, mpu[:,3])
    ln4.set_data(t, mpu[:,4])
    ln5.set_data(t, mpu[:,5])


# change y limit dynamically
def change_ylim(ax, mpu):
    ax[0, 0].set_ylim(min(mpu[:,0]), max(mpu[:,0]))
    ax[1, 0].set_ylim(min(mpu[:,1]), max(mpu[:,1]))
    ax[2, 0].set_ylim(min(mpu[:,2]), max(mpu[:,2]))
    ax[0, 1].set_ylim(min(mpu[:,3]), max(mpu[:,3]))
    ax[1, 1].set_ylim(min(mpu[:,4]), max(mpu[:,4]))
    ax[2, 1].set_ylim(min(mpu[:,5]), max(mpu[:,5]))


def mpu_init_plot(ax, mpu):
    ln0, = ax[0, 0].plot(t,mpu[:,0], 'r')
    ax[0, 0].grid(True)
    ax[0, 0].set_title("acc x")
    ln1, = ax[1, 0].plot(t,mpu[:,1], 'g')
    ax[1, 0].grid(True)
    ax[1, 0].set_title("acc y")
    ln2, = ax[2, 0].plot(t,mpu[:,2], 'b')
    ax[2, 0].grid(True)
    ax[2, 0].set_title("acc z")
    ln3, = ax[0, 1].plot(t,mpu[:,3], 'r')
    ax[0, 1].grid(True)
    ax[0, 1].set_title("gyro x")
    ln4, = ax[1, 1].plot(t,mpu[:,4], 'g')
    ax[1, 1].grid(True)
    ax[1, 1].set_title("gyro y")
    ln5, = ax[2, 1].plot(t,mpu[:,5], 'b')
    ax[2, 1].grid(True)
    ax[2, 1].set_title("gyro z")
    return ln0, ln1, ln2, ln3, ln4, ln5


def update(i):
    global mpu
    mpu_val = get_mpu_val(zumi)
    mpu = new_data_insert(mpu, mpu_val)

    ln_set_data(mpu)
    change_ylim(ax, mpu)
    return ln0, ln1, ln2, ln3, ln4, ln5


#initialize
zumi = Zumi()
t, mpu = init()

#plot
fig, ax = plt.subplots(3,2)
ln0, ln1, ln2, ln3, ln4, ln5 = mpu_init_plot(ax, mpu)

#animation
ani = FuncAnimation(fig, update, frames=t, blit=True)
plt.show()
다음엔 필터링
평균, 평균이동, 저주파 통과, 칼만 필터 순으로
300x250
'로봇 > 로봇' 카테고리의 다른 글
| zumi - 22. 저주파 통과 필터 (0) | 2020.08.25 |
|---|---|
| zumi - 21. 평균 필터 (0) | 2020.08.25 |
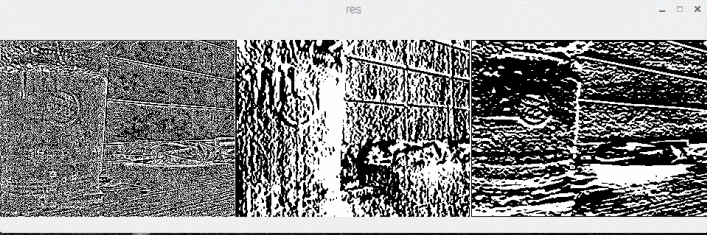
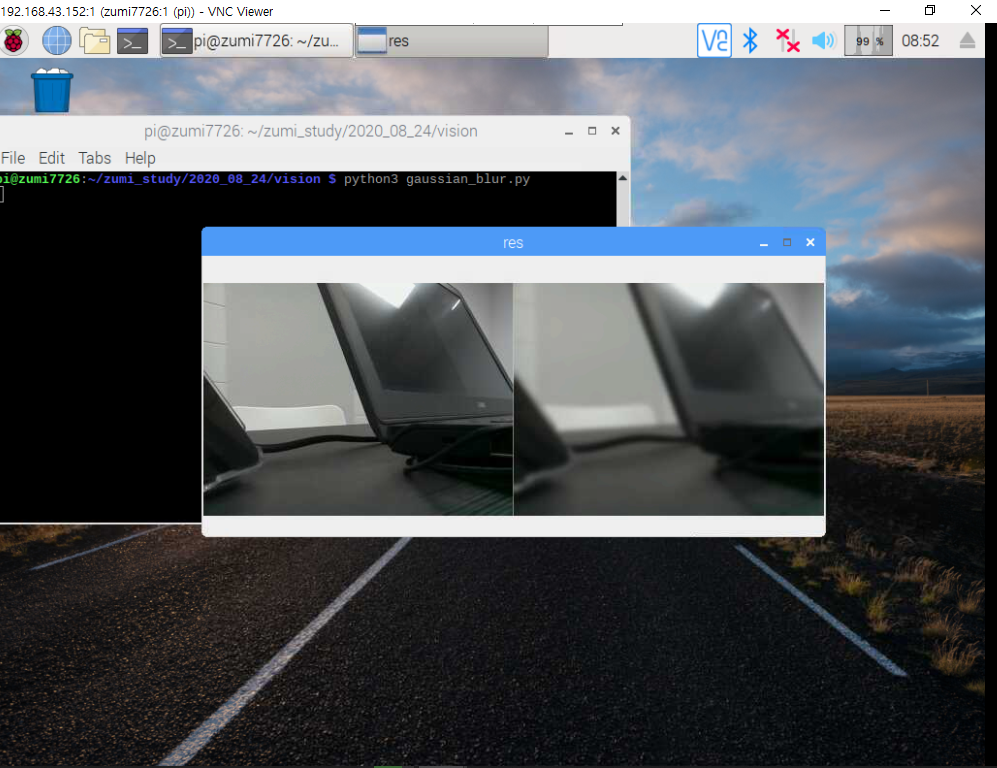
| zumi - 19. 주미 에지 영상 (0) | 2020.08.25 |
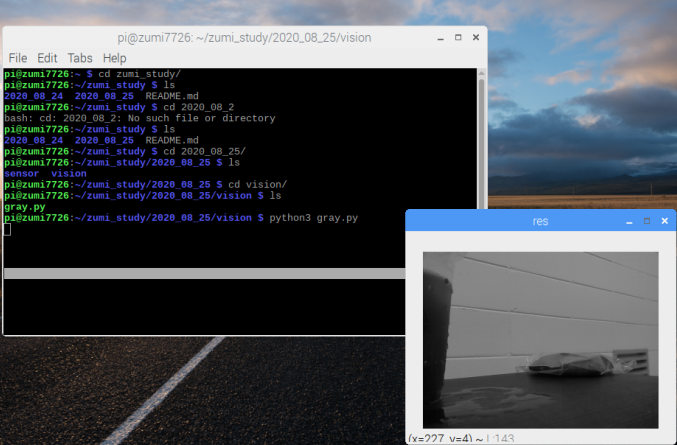
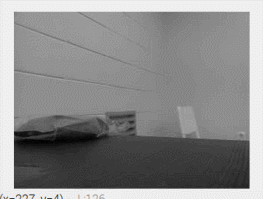
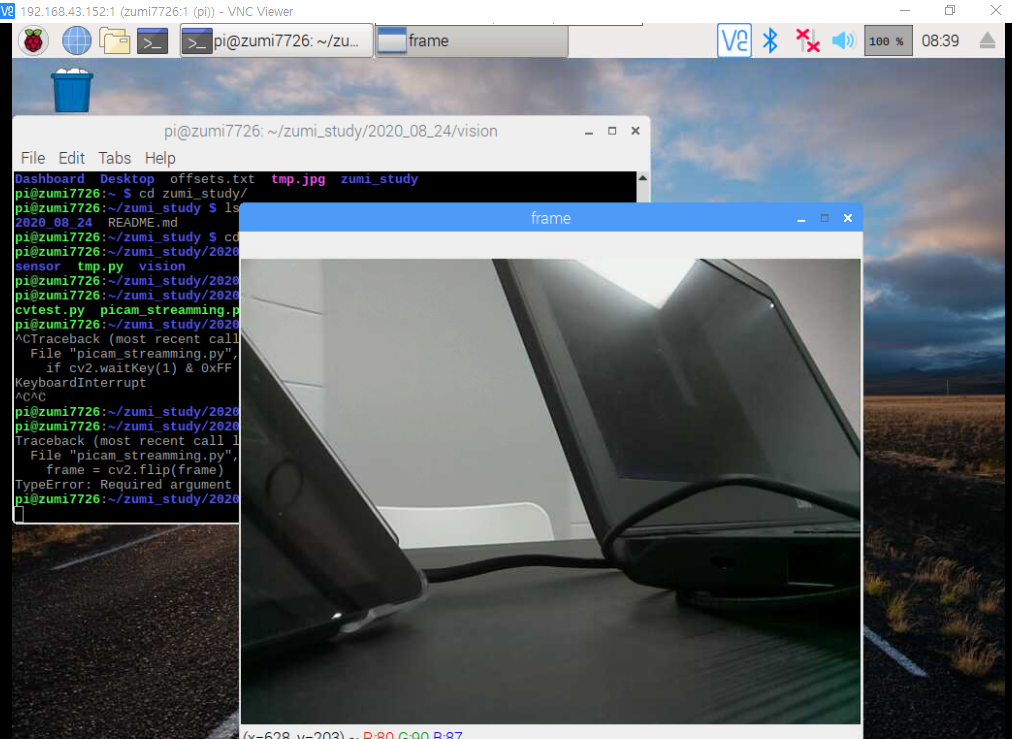
| zumi - 18. 주미 흑백 영상 스트리밍 (0) | 2020.08.25 |
| zumi - 17. mpu 데이터 플로팅 (0) | 2020.08.25 |