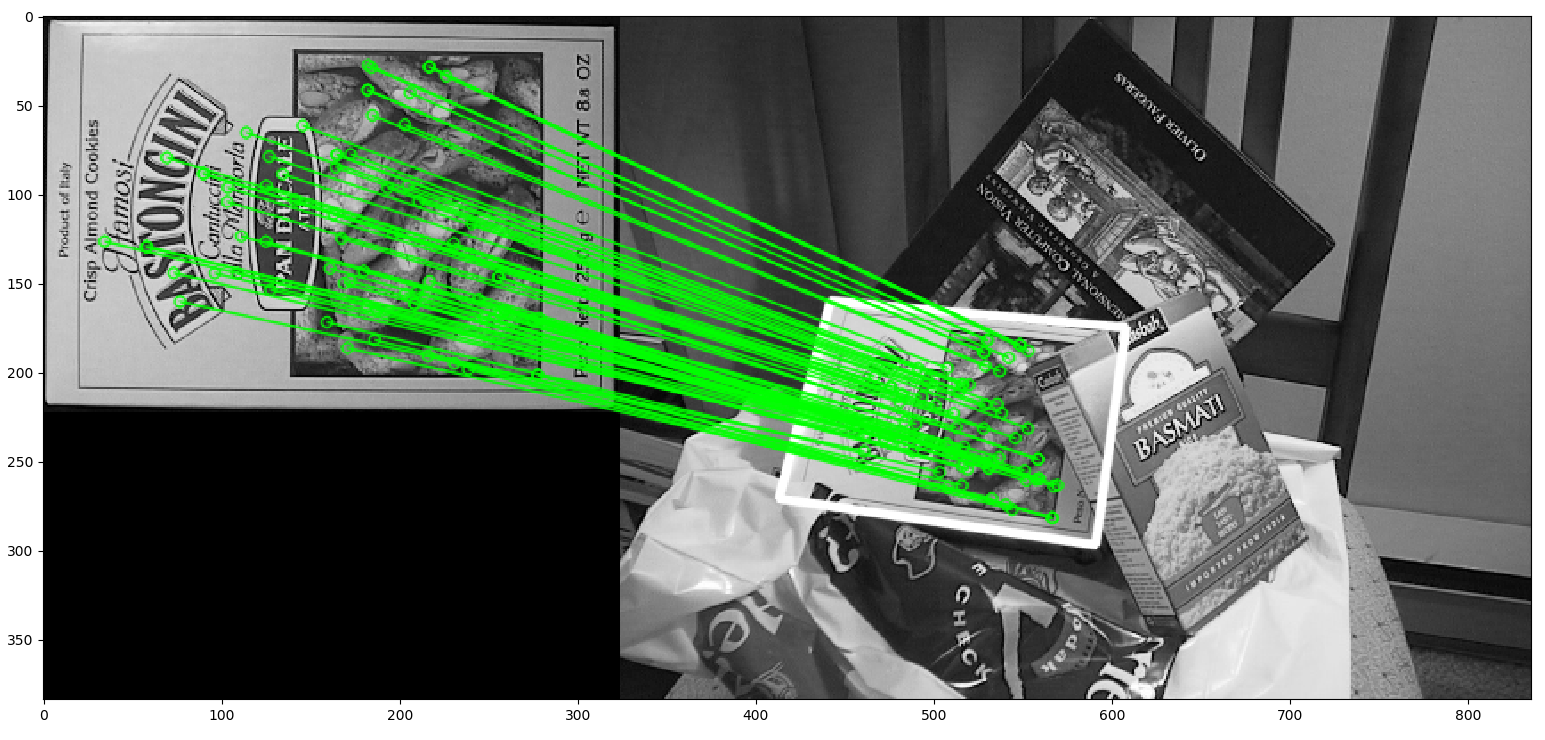
이번에는 피처 매칭과 호모그래피 탐색을 이용하여 복잡한 이미지상에 있는 물체를 찾아보겠습니다.
지난 시간는 쿼리 이미지를 사용해서 다른 훈련 이미지상에 존재하는 특징점들을 찾았습니다. 정리하자면 다른 이미지에 존재하는 물체 일부의 위치를찾은것이라 볼수 있겠습니다. 이 정보가 있으면 훈련 이미지 상에 존재하는 물체를 찾기에 충분합니다.
그러기 위해서 이번에는 calib3d 모듈에서 cv2.findHomography() 함수를 사용해보겠습니다. 두 이미지 상에서 점집합을 찾았다면 이제 그 물체의 원근 변환을 얻을수 있습니다. 그러고나서 cv2.perspectiveTransform()으로 물체를 찾겠습니다. 이 변환을 얻기 위해서는 4개의 올바른 점들이 필요합니다.
매칭하는 중에 결과에 영향을 주는 에러들이 존재할수도 있지만, 이 부분은 RANSAC이나 LEAST_MEDIAN(플래그로 설정가능)을 사용해서 해결하겠습니다. 좋은 매치를 인라이어라 하고, 아닌것을 아웃라이어라 부르겠습니다. cv2.findHomography()는 인라이어와 아웃라이어 포인트들을 정리하는 마스크를 반환해줍니다.
import numpy as np
import cv2
from matplotlib import pyplot as plt
MIN_MATCH_COUNT = 10
img1 = cv2.imread('./res/box.png',0) # queryImage
img2 = cv2.imread('./res/box_in_scene.png',0) # trainImage
# Initiate SIFT detector
sift = cv2.SIFT_create()
# find the keypoints and descriptors with SIFT
kp1, des1 = sift.detectAndCompute(img1,None)
kp2, des2 = sift.detectAndCompute(img2,None)
FLANN_INDEX_KDTREE = 0
index_params = dict(algorithm = FLANN_INDEX_KDTREE, trees = 5)
search_params = dict(checks = 50)
flann = cv2.FlannBasedMatcher(index_params, search_params)
matches = flann.knnMatch(des1,des2,k=2)
# store all the good matches as per Lowe's ratio test.
good = []
for m,n in matches:
if m.distance < 0.7*n.distance:
good.append(m)
if len(good)>MIN_MATCH_COUNT:
src_pts = np.float32([ kp1[m.queryIdx].pt for m in good ]).reshape(-1,1,2)
dst_pts = np.float32([ kp2[m.trainIdx].pt for m in good ]).reshape(-1,1,2)
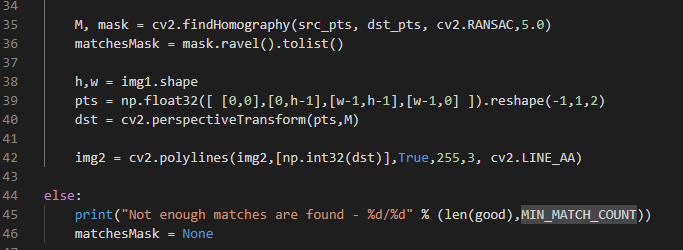
M, mask = cv2.findHomography(src_pts, dst_pts, cv2.RANSAC,5.0)
matchesMask = mask.ravel().tolist()
h,w = img1.shape
pts = np.float32([ [0,0],[0,h-1],[w-1,h-1],[w-1,0] ]).reshape(-1,1,2)
dst = cv2.perspectiveTransform(pts,M)
img2 = cv2.polylines(img2,[np.int32(dst)],True,255,3, cv2.LINE_AA)
else:
print("Not enough matches are found - %d/%d" % (len(good),MIN_MATCH_COUNT))
matchesMask = None
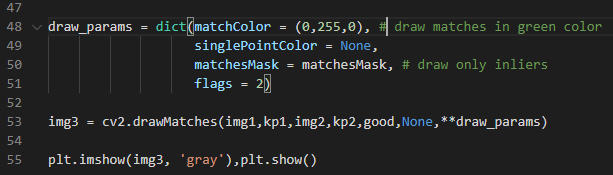
draw_params = dict(matchColor = (0,255,0), # draw matches in green color
singlePointColor = None,
matchesMask = matchesMask, # draw only inliers
flags = 2)
img3 = cv2.drawMatches(img1,kp1,img2,kp2,good,None,**draw_params)
plt.imshow(img3, 'gray'),plt.show()
우선 찾은 물체에 존재하는 10개의 매치들을 구합니다. 충분히 매치들을 찾았다면, 두이미지에 존재하는 매치된 키포인트의 위치들을 추출하겠습니다.

이제 이 매치들을 사용해서 원근 변환을 찾아보겠습니다. 3 x3 크기의 변환 행렬을 얻을건데, 이 행렬을 사용해서 쿼리 이미지의 키포인트(코너)들을 훈련 이미지 상에 대응지점으로 변환시킬수 있습니다.
findHomography로 변환 행렬을 구하고, 쿼리 이미지의 코너들을 원근 변환 행렬로 훈련 이미지 상에 나타내고 이를 직선으로 이어줍시다.
마지막으로
매치들을 그리면
'로봇 > 영상' 카테고리의 다른 글
| 컴퓨터 비전의 목표 (0) | 2020.08.16 |
|---|---|
| opencv-python 튜토리얼 - 28. 민시프트와 캠시프트 (0) | 2020.08.16 |
| opencv-python 튜토리얼 - 26. 피처 매칭 (0) | 2020.08.16 |
| opencv-python 튜토리얼 - 25. ORB (0) | 2020.08.16 |
| opencv-python 튜토리얼 - 24. BRIEF (0) | 2020.08.16 |